Making a Realistic Car Animation In Blender
April 01, 2022
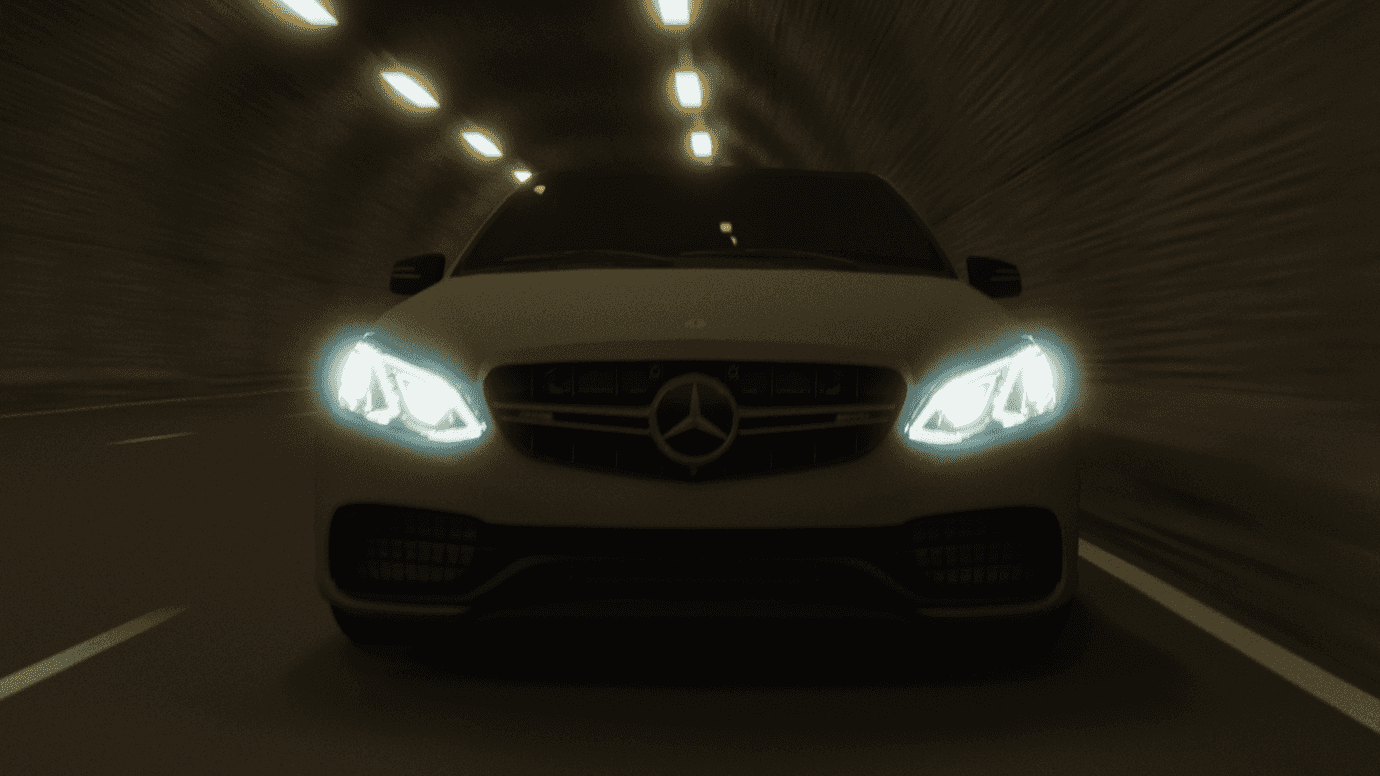
The inspiration for this project came when I noticed a few new Blender car animations had appeared on YouTube. As a fan of racing movies and TV shows this is one of the areas of CG that excites me. After a bit of testing with Rigacar, I figured out how to animate realistic car movement so I thought I’d have a try at creating my own Blender car scene.
This animation turned out ot be more challenging than most of the previous projects I’ve worked on due to the scale of the scene. At times my iMac (i9, 32gb ram and Vega Pro 48) lagged quite a bit, and I also had to deal with a fair number of crashes and some corrupt blender files.
Environment
I started the scene by creating the environment. The hills surrounding the road were made with subdivided planes that I shaped with proportional editing. I added some more detail using a displacement modifier and a cloud texture. I also added a subdivision modifier to the hills, but later in the project I had to delete it to reduce ram usage.
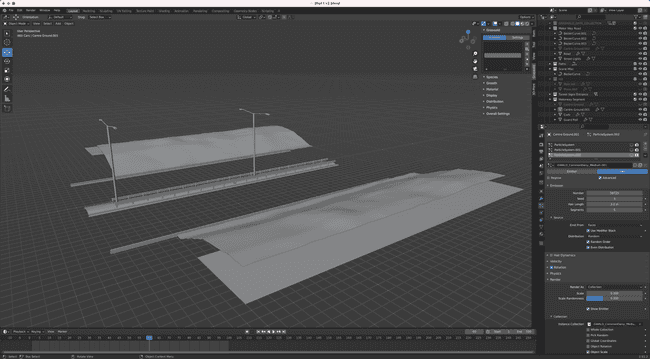
To make the environment more modular I only created a short section of the motorway which I then duplicated using array modifiers. The idea was to make the elements more modular, which would allow me to reposition them for each shot so the scene would only have to be large enough to cover the field of view from the camera. Whilst in theory this was a good idea that should have reduced ram usage and increased viewport performance, in hindsight I should have just used the whole environment for every shot. All the time I spent reconfiguring the motorway modules, I could have instead spent optimizing the environment to lower the poly count and hiding the tiling from low resolution textures.
The trees were from nature packs that I’ve downloaded over the years, mostly from Sketchfab and Blend Swap. I scattered the trees using a hair particle system that I created on a new plane that was positioned just beneath the hills. I like to use a separate plane for the tree system as it makes it easier to separate the weight painting for the different particle systems.
The grass was all from Graswald, a Blender plugin that makes it easier to add a variety of grass, flowers, leaves and other weeds into your scene. If you’re looking for a grass system plugin for Blender, it’s worth looking into.
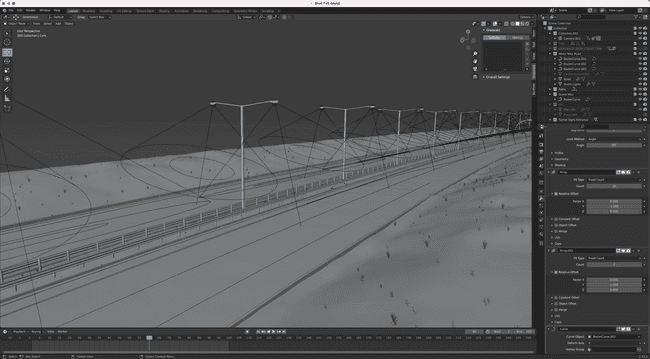
The road was made in the same way the hills were, a plane with a few subdivisions, noise modifier and sub surface. I modelled some bits of road furniture, streetlamps, curbs and guard railings that were also duplicated with an array modifier.
Materials
For the materials I used Substance Painter. After UV unwrapping the objects and assigning materials, I exported everything in a FBX file which I opened in Painter. After baking the maps, I added the materials. I didn’t do anything complicated, mostly just materials from substance source as well as a few of the built-in smart materials.
Once the materials have been added, I exported all the textures. I made sure to lower some of the export resolutions for the objects that are smaller and less prominent. This helped to save on ram use. The last step was to add each of the texture sets to a principled shader in blender.
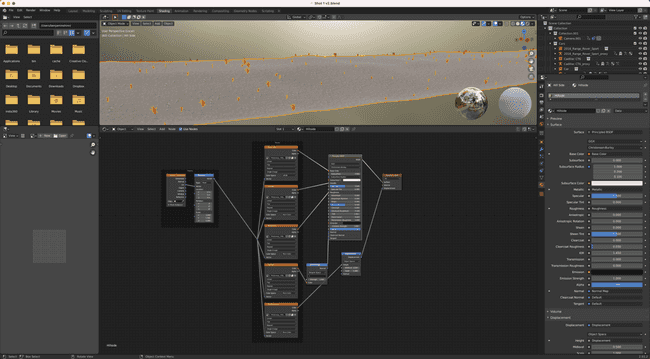
For the sky, I used a HDRI that I found on Poly Haven and adjusted it with some nodes to make it darker and more contrasty. As the HDRI has some trees in the background it helped to hide any gaps in my tree particle system. I did experiment with adding some atmosphere haze/mist, but whist it looked cool it, it made the render incredibly noisy and obscured to many of the details in the background scenery.
Once I had finished creating and duplicating all the environment assets, I needed to reshape them to make the road curvier like a real motorway. To do that I added a Bezier curve and then using the curve modifier, I made each object follow the curve, and increased the number of copies in the array modifier so enough of the curve was covered. I moved the objects around for each shot, so the view from the camera was covered.
Cars
Much like the trees, the cars were a mixture of models downloaded from Blend swap, Sketchfab and TurboSquid. The models were in various states of completion, some needed to have the meshes fixed, others needed headlights and taillights added and some needed completely new materials.
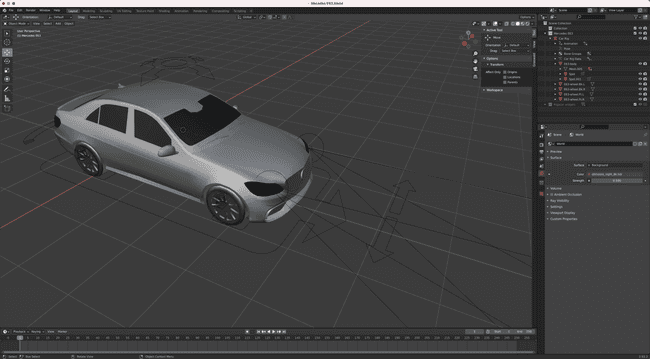
Once the car models had been fixed and prepped, I created a car rig for them using Rigacar. Back in the main scene, I duplicated the environment so each of the six shots had their own blend file. Then for each shot I linked the required cars into the scene, then created a proxy for each car, so that I could animate the car rig. I chose to link rather than append, as it kept the blend file tidier and any changes I made to the cars would carry over to all the other shot files.
Animating the cars was fairly simple. Each car got its own Bezier curve and I used a follow path bone constrain on the car rig to make the car follow the curve. Rigacar has ‘bake wheel rotation’ and ‘bake steering’ buttons that finish off the animation. The hero car (Mercedes E63) has a longer path than the rest of the cars to make it move faster. For the shots with a moving camera, I used the same style of animation, a follow path constrain on the camera.
Camera
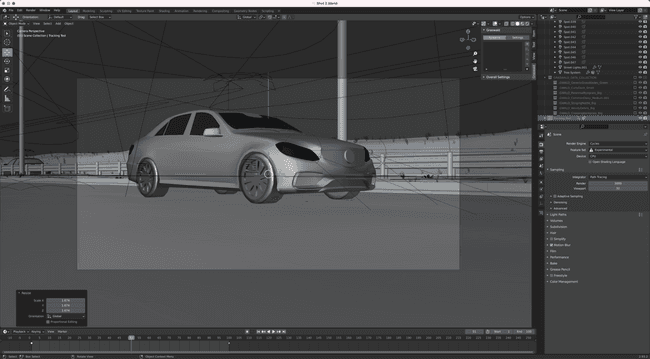
For the moving shots, I wanted the camera movements to be realistic with a reasonable bit of shake to give the scene some energy. I added an empty to follow the same path as the Mercedes, then added a ‘track to’ constrain on the camera to make it point at the empty. Then I added some shaky camera effect with noise modifiers on both the camera and the empty. The other benefit of tracking to the empty, was that I could use it as the depth of field object to add some nice bokeh blur to the background.
Finally, I enabled motion blur, added a glare node which was set to high quality, packed everything into the blend file and compressed the blender project and folder containing all the linked cars in a zip archive. The zip could then be uploaded to the GradedBlue Renderfarm.
Rendering
Each shot was rendered with 3000 samples, but the GradedBlue Renderfarm still got through them nice and quickly. Each shot took around 12 hours to render. Once the shots had finished rendering, I downloaded them and brought them into DaVinci resolve. I used a small amount of noise reduction, edited the shots together with some music and then finished off the animation with a quick grade using Film Convert.
