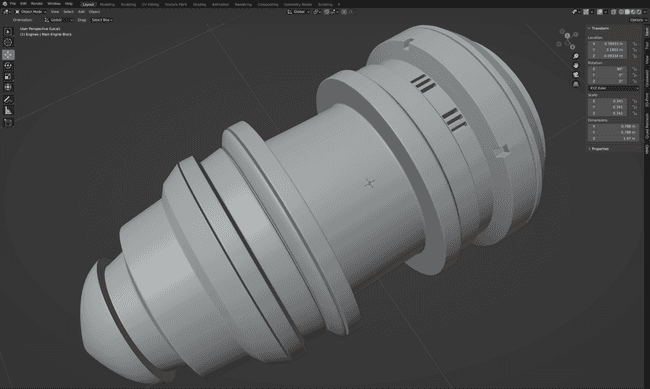
How To Do Retopology In Blender
January 07, 2023
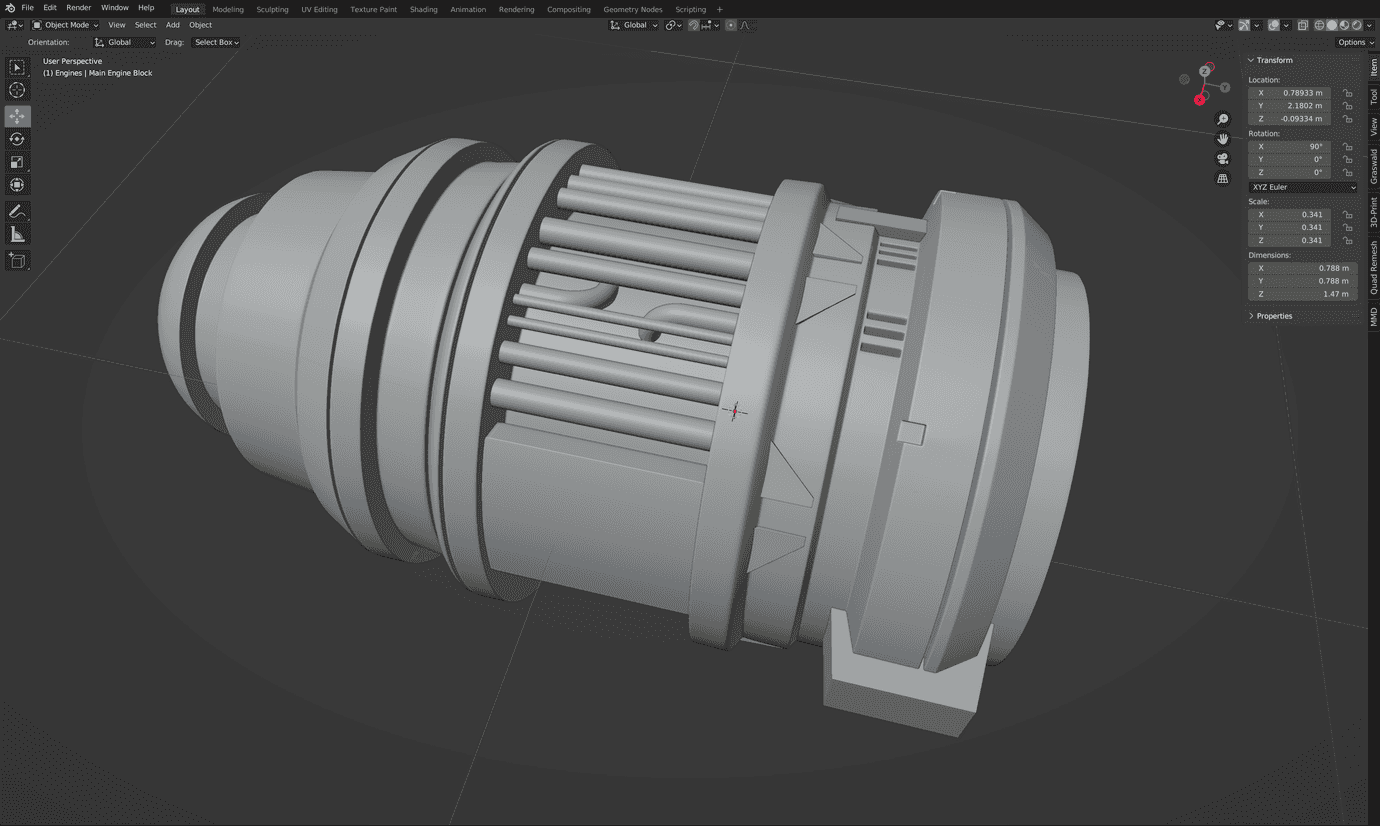
Retopology is one of the most fun and enjoyable parts of modelling. Not. However, this painfully tedious process is often necessary especially when using a Boolean modifier workflow.
The Problem
I’m working on a model of the XS Light Freighter that I am creating for a Star Wars fan film I’m working on. Modelling spaceships should be fun right? This section of the model is one of the rear engines and I need to add some more detail.
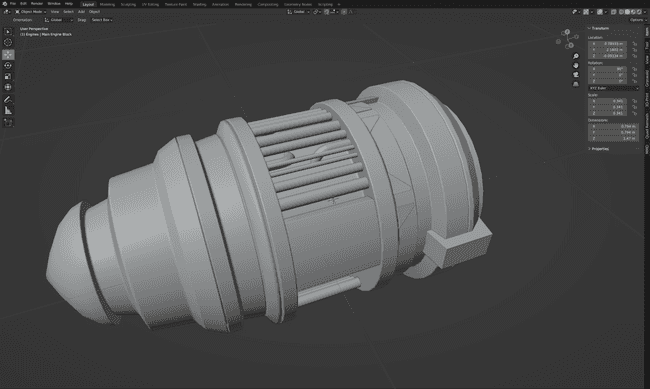
First there are a series of vents that need to be added (I assume they’re for cooling or exhaust or some other technical purpose). There are also these square cut outs that need to be made too.
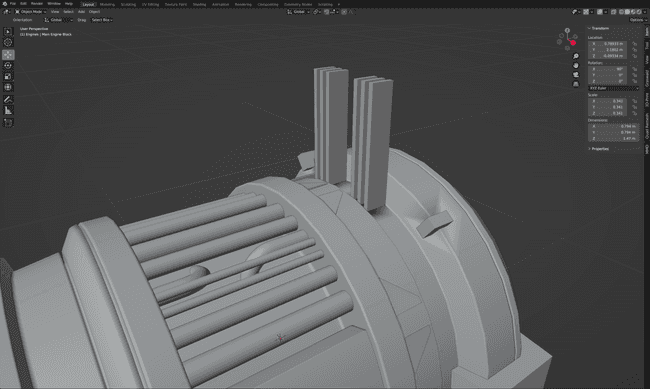
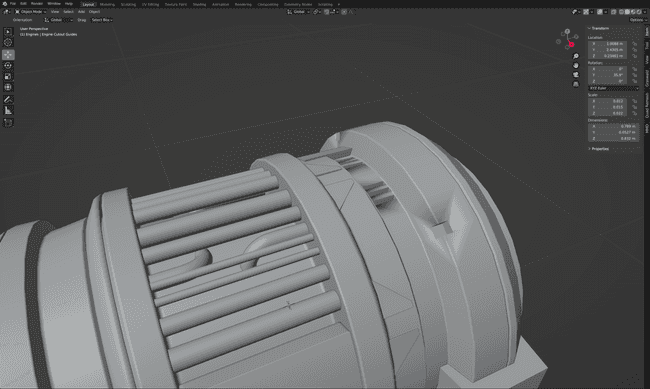
However, once the Boolean cuts have been made the shading doesn’t look quite right.
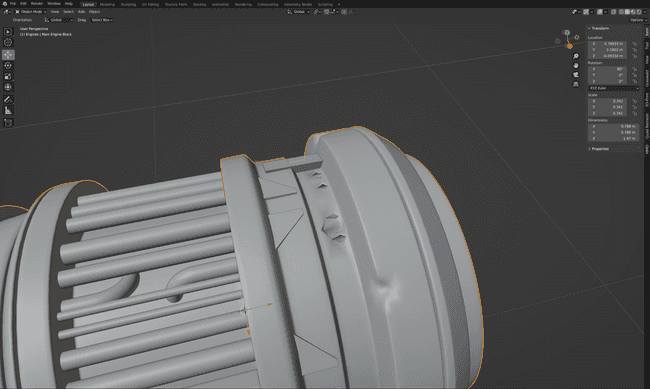
Tabbing into edit modes shows how the geometry has been messed up. It might not look too bad at first, but I’ve created several Ngons (faces that have more than 4 edges) and completely broken the flow of the edge loops. Trying to add a sub-surface modifier doesn’t go well either.
Retopology Time!
Time to fix the model. As both the left and right sides of the model are identical, likewise so are the top and bottom, I can save time by cutting the model into one quarter and adding a mirror modifier on the x and y axes.
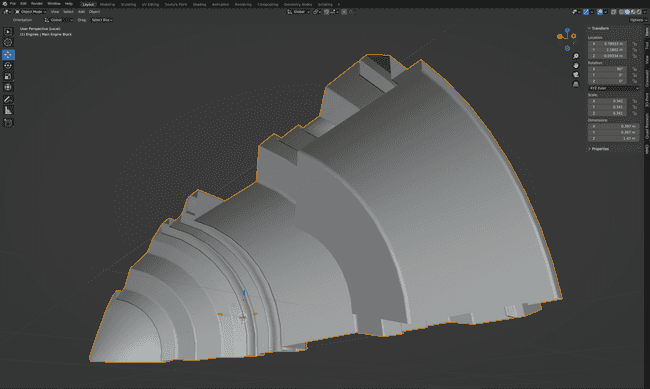
I’ll start with the square cut-out sections. I can add 2 edge cuts either side of the cut out, although the loops won’t extend into the Ngon faces.
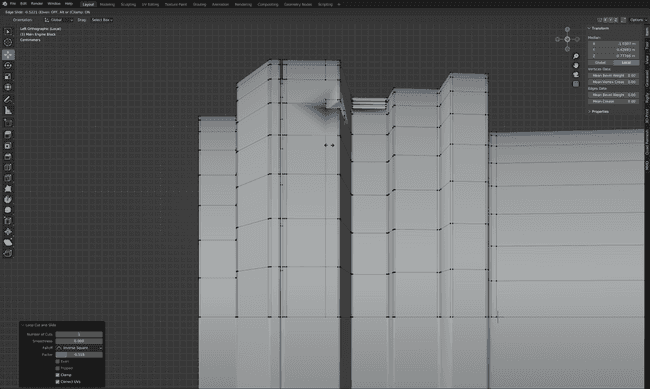
Next, I’ll delete the 2 Ngon faces and join the edge loops with the corresponding edge from the cut out.
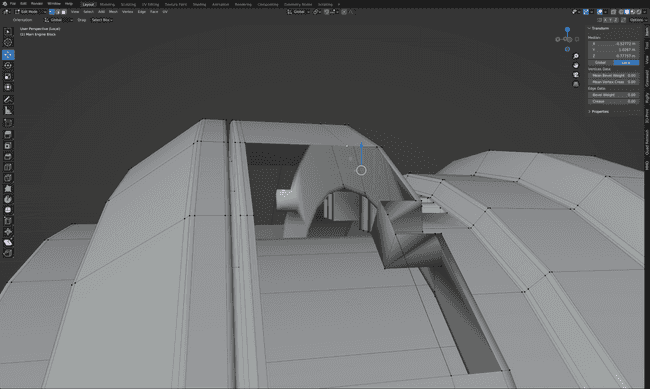
Now it’s time for 2 more edge loops at the end of the engine. I’ve added them halfway between the already existing edge loops instead of trying to line them up with the corners of the cut out. If I did line up the new loops with the cut out corners, this would mess up the curvature of the engine and the sub surface modifier wouldn’t be as smooth in the areas with more geometry.
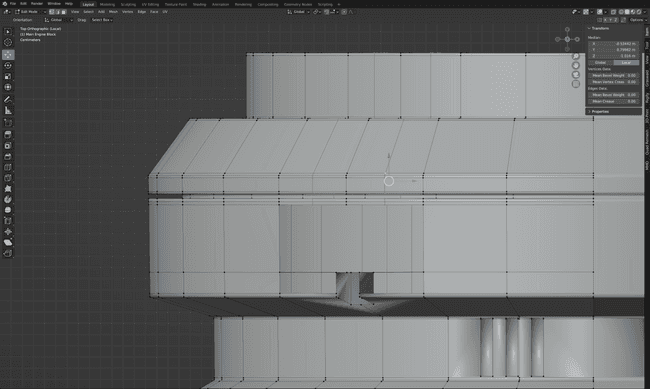
Then I connect the new edge loops with the cut out using the bridge edge loops option.
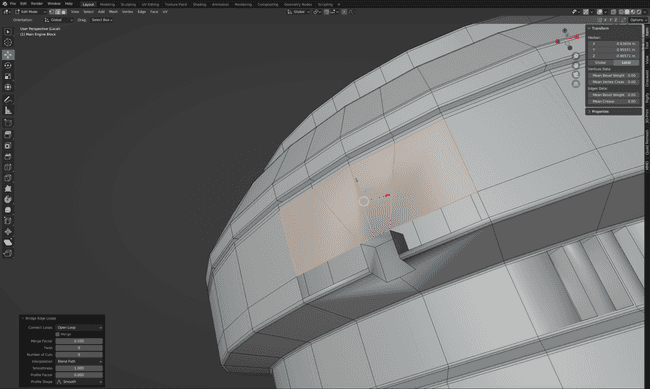
Now to fix the cut out, the first step is to select the 2 corner vertices and subdivide the selected edge.
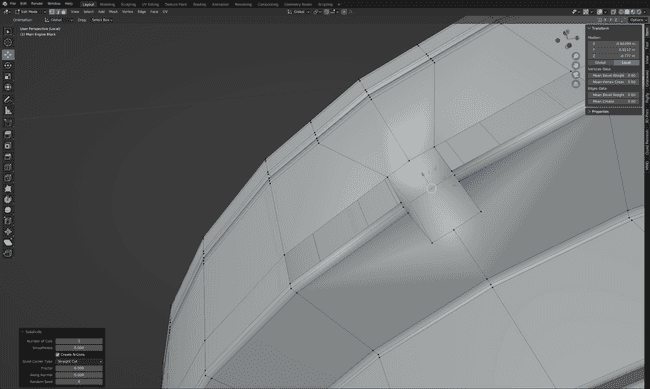
Then I can use the knife tool to add 2 cuts in the centre of the cut out.
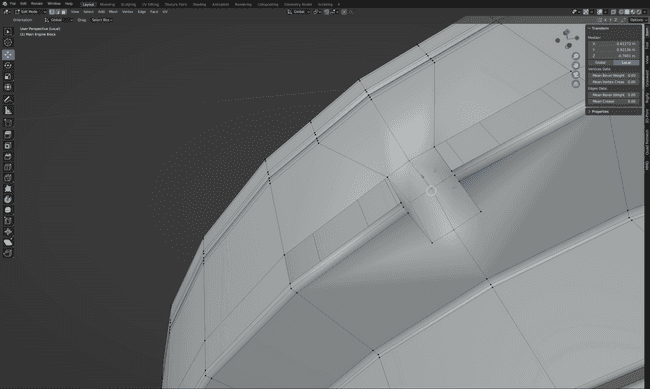
Then I can fill in the 2 missing faces.
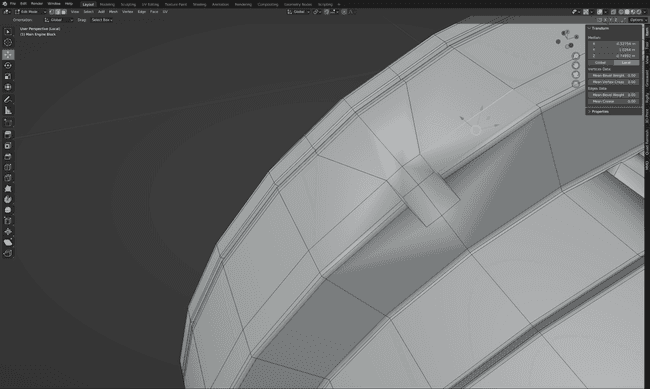
After that I repeat all the steps on the other side of the cut out.
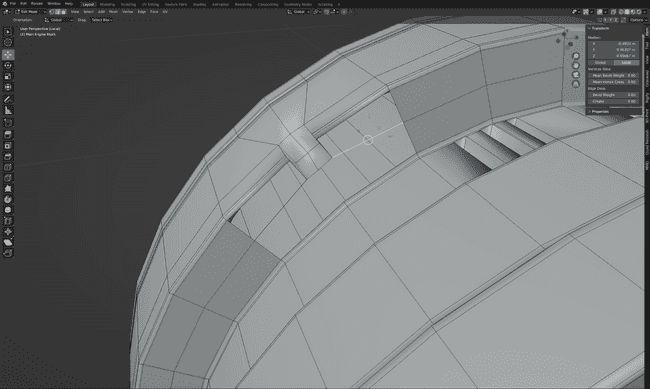
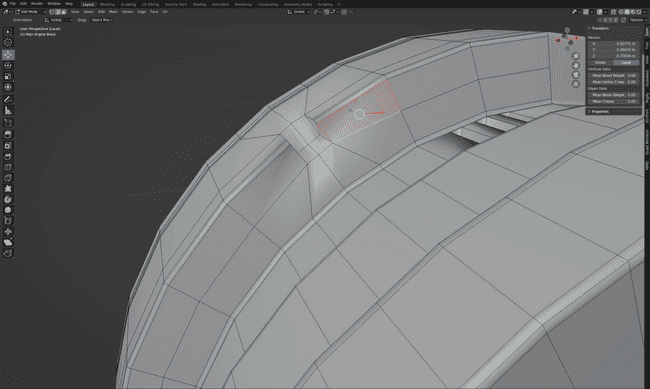
I could use the knife tool to add the 2 holding edges in the cut out, but because I’ve fixed all the other Ngons, I can first dissolve the edges.
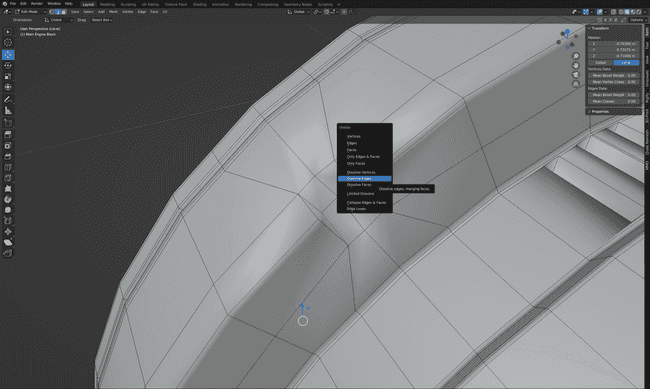
Then re-add them. Because the cut out is now made of 4 sided faces, the edge loops will extend all the way around.
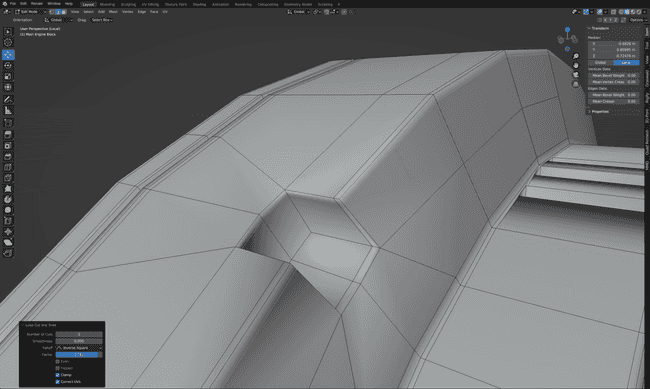
Now the geometry looks much better, however when I re-enable the subsurface modifier, it’s smoothing out the cut out far too much.
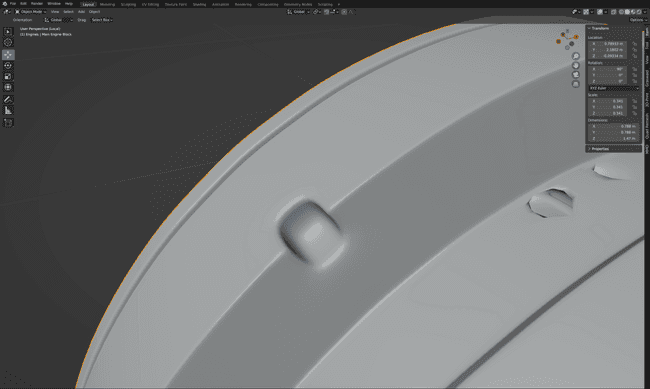
To fix this I added some more edge loops to act as holding edges and reduce the amount of smoothing.
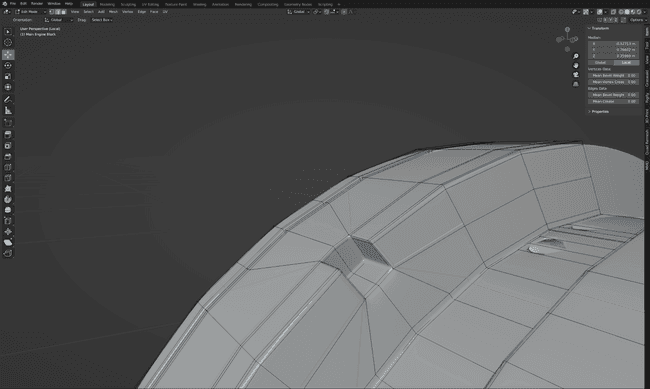
However, the model is now starting to look too messy and in some places the model is starting to lose its curvature.
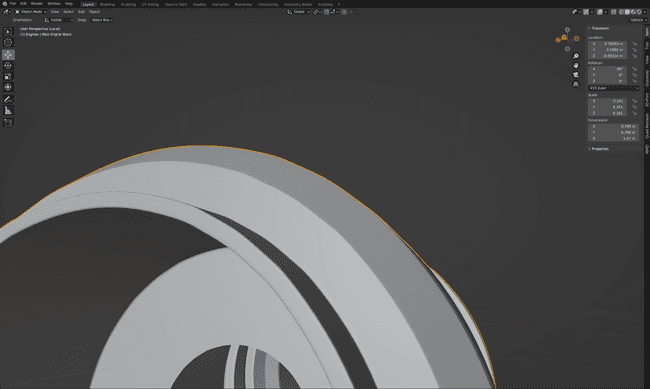
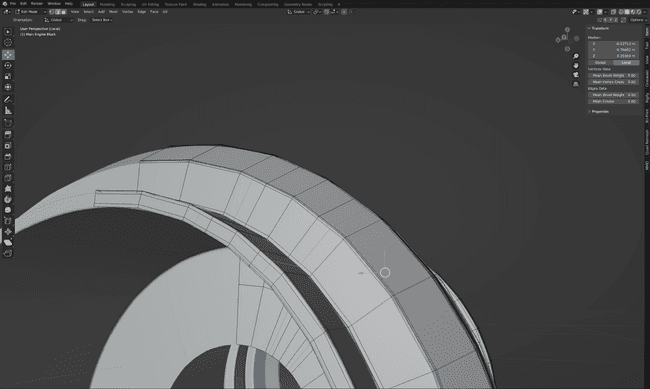
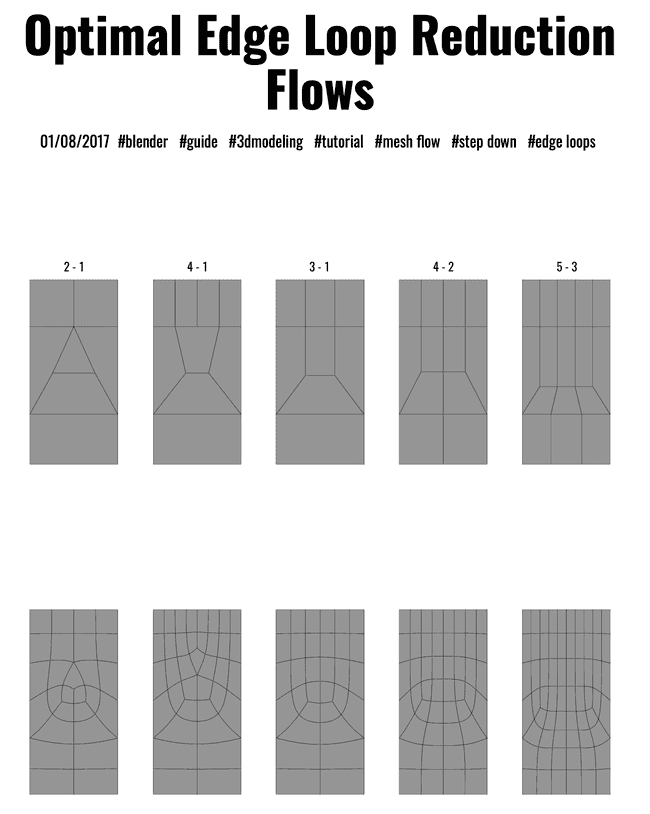
To fix this I’m going to have to simplify the geometry using edge loop reduction. I’ll try and explain the process as I’m fixing the model but for a more detailed overview, I recommend this guide one.
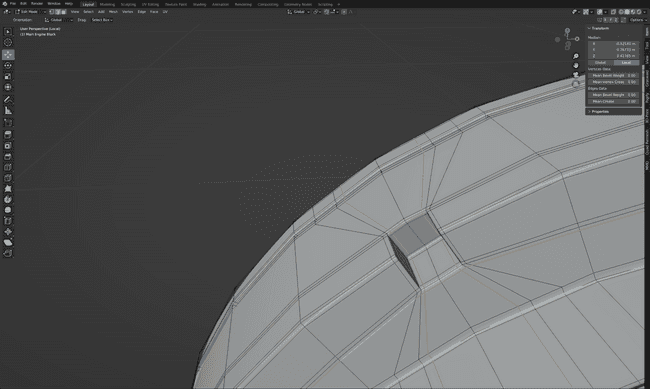
As I’m going to have fix the model either way, I’ve added a few more loop cuts to make the cut out edges even more crisp.
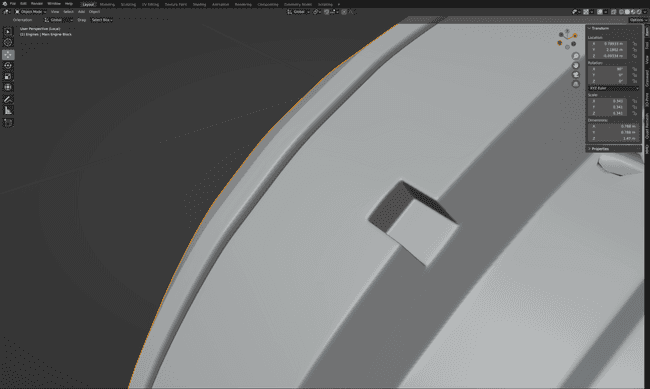
I’m going to need a temporary loop cut for the edge loop reduction process.
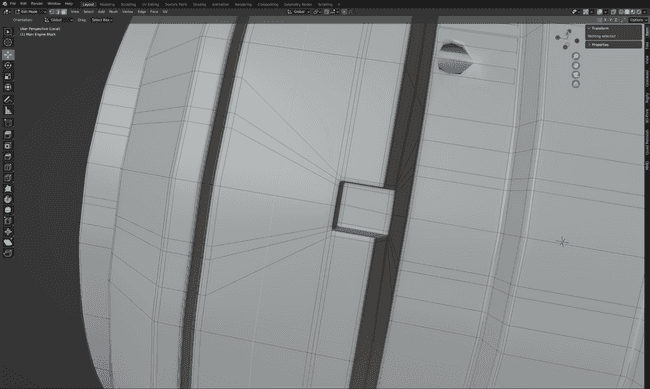
The plan is to reduce each side from 4 edges down to 2. Reducing to 1 edge loop would result in a triangular face each side.
First, I create a Ngon by dissolving 2 edges.
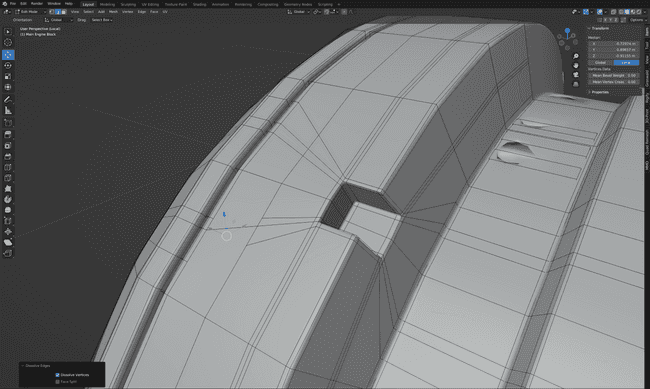
Then I can use the knife tool to create edges from the outside edge loops to the inside ones
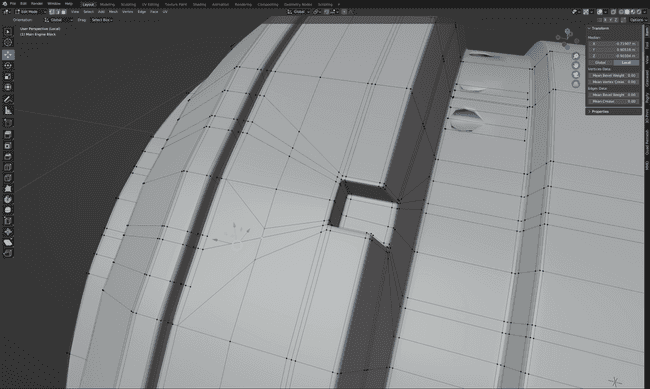
Then delete the excess loop cuts.
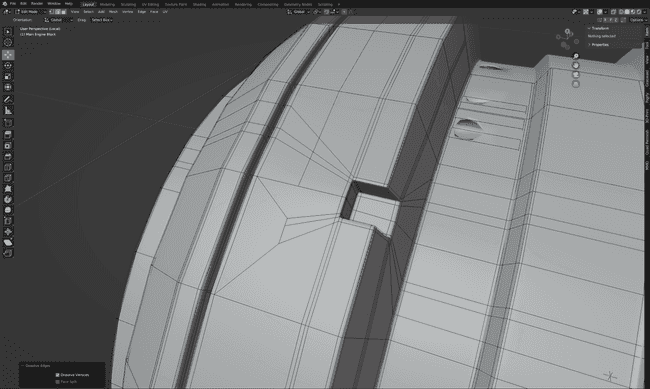
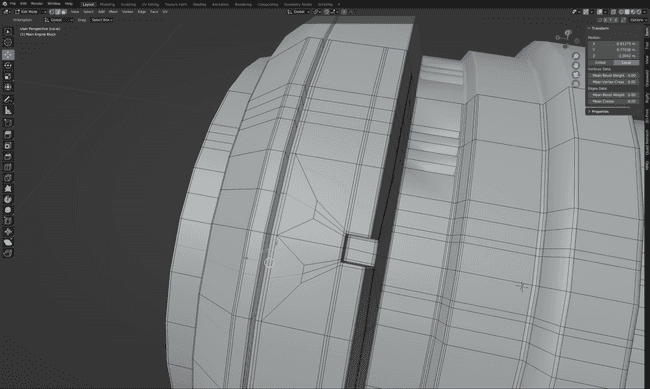
Unfortunately, I have to re-add the centre line, so the model does have one extra edge loop, but it’s still a big improvement. And finally, I repeat the process on the other side, and straighten out the loop cuts to reveal the simplified geometry.
Retopology Part 2
It’s a very similar process for the vents. One side is overlapping an edge loop so I can merge the vertices from the vents with the ones from the edge loop. On the other side of the vent, I can add an edge loop and then connect the end of the vents to the edge loop using the knife tool.
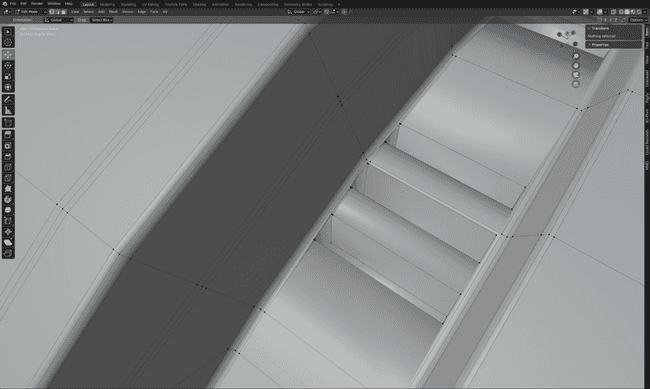
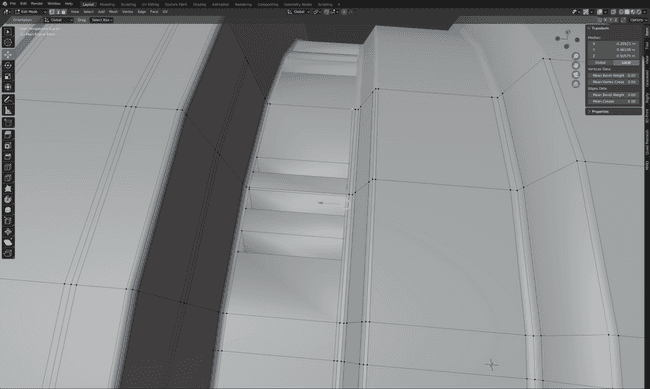
One of the horizontal edge loops is close to the side of a vent so that can be merged too.
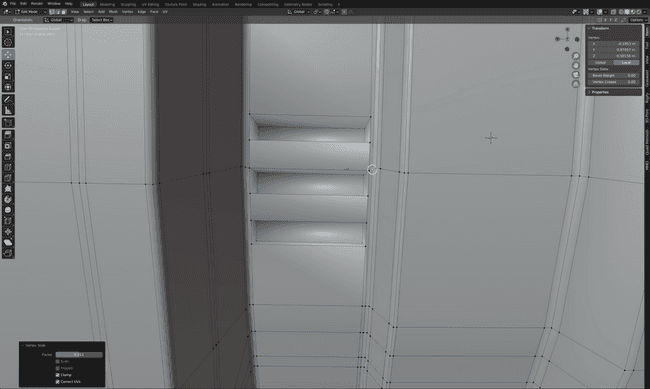
Next, I’ve got to add a bunch of edge loops so that the rest of the vents have something to connect to. I’ll simplify the geometry later.
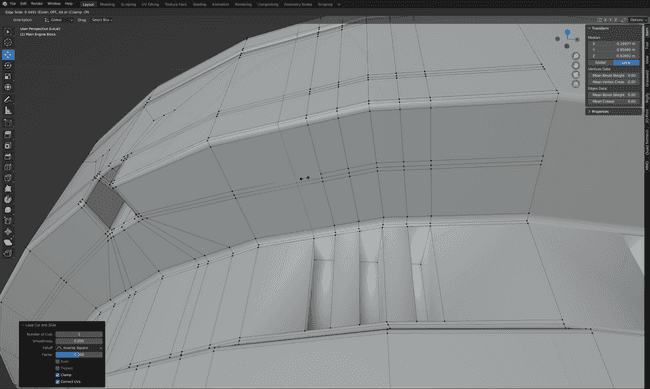
Then I connect the edges and vents with the knife tool.
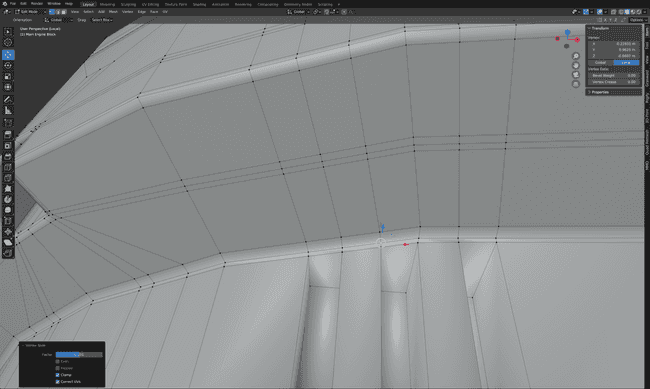
The right side geometry can be simplified with a 4 to 2 reduction.
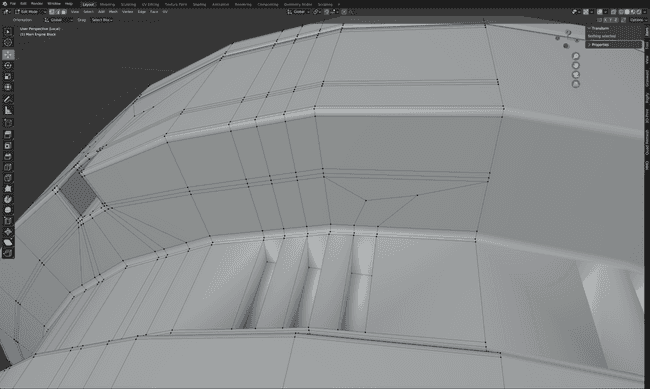
The left side can be reduced using the 5 to 3 reduction method that I used with the cut out.
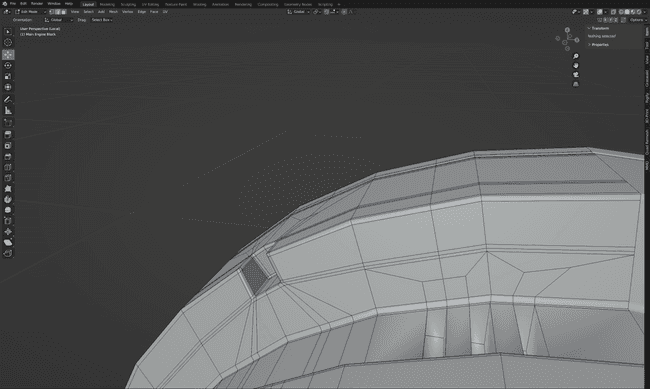
Then all I’ve got to do is repeat the process on the other side.
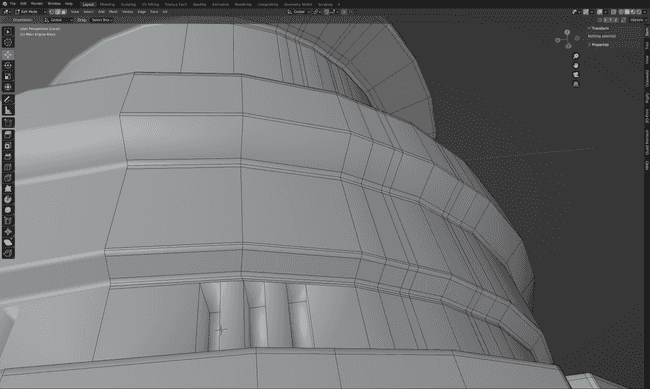
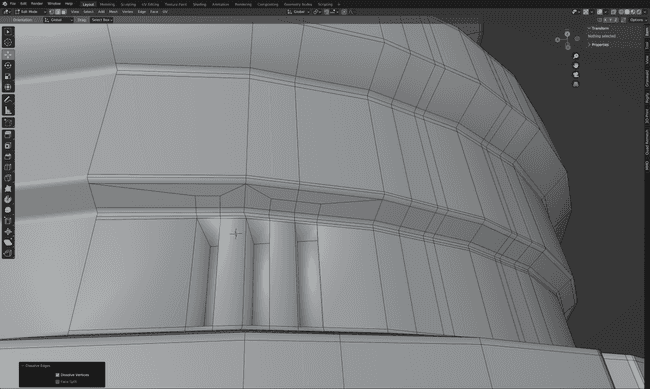
Finally, the models need a few more edge loop reductions and some addition holding edges round the vents.
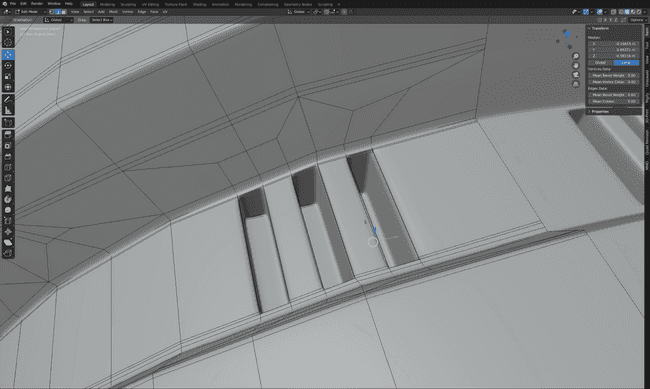
The Finished Product
At last, the retopology has been finished and we can admire the fished model!
